Wanna know what can make your chicken katsu a simple yet extremely satisfying meal? It’s not the sauce, or the super thinly sliced cabbage. It’s the way you prepare the meat and then using a bit of water as you cook it. Read on or watch the video to get a few of my tips to make your chicken katsu a success. This might have you wanting to remake this over and over and over again!

Chicken katsu チキンかつ
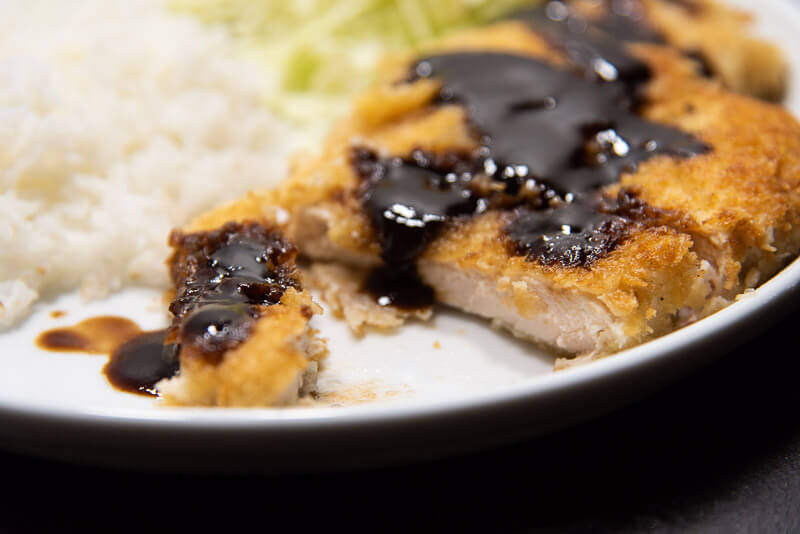
Deep fried chicken cutlet.
It’s my second favorite to tonkatsu.
My number 1 favorite.
But a little healthier since it’s not red meat.
Though I don’t make fried foods much at home, when I do make it, it’s something I thoroughly enjoy.
The technique I follow to prepare the meat is the same, whether it’s chicken or pork.
So you can use the same procedures with the meat of your choice.
If you’ve ever been to a tonkatsu specialty restaurant in Japan, you may have noticed you can get refills on the sides!
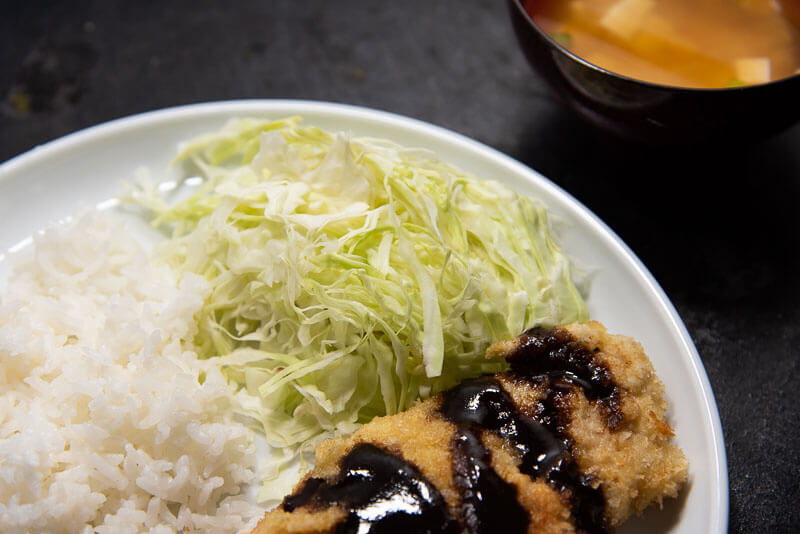
One of my favorite parts about eating tonkatsu (in Japan) is unlimited refills on cabbage and soup!
Okawari おかわり
Okawari in Japanese is the word for refill.
And I usually say it at least 2-3 times when I eat tonkatsu.
For the cabbage.
Why?
It helps to make the meal a little more healthy, less greasy and more filling.
As opposed to filling up on just rice and meat.
The soup I usually don’t ask for refills though, since I think one serving is plenty.
And I don’t wanna get filled up with liquid.
If you’ve been to one of the specialty tonkatsu restaurants, did you know you could get refills?
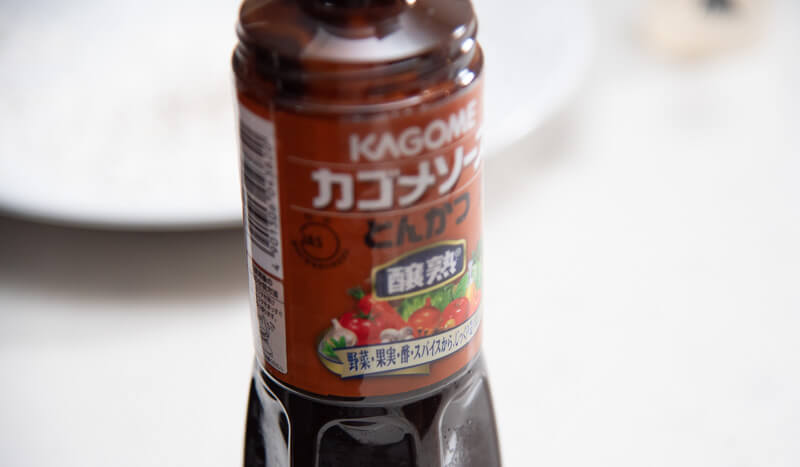
Tonkatsu sauce
Though we’re talking chicken katsu today, the sauce used for it is the same as tonkatsu.
Yes, you can make it from scratch and it’ll taste better, but Bulldog is my go to for premade tonkatsu sauce.
Bulldog makes other sauces and condiments too.
And they all have very similar looking bottles.
So be careful you get the right sauce.
One that looks similar is chuno sauce.
Though you can use chuno sauce for tonkatsu and chicken katsu, the flavor will be different.
And it might catch you off guard if you were expecting a classic tonkatsu sauce flavor.
Because it’s one of the larger sauce brands, it’s highly likely that you’ll see this brand at your local Japanese market.
Aside from Otajoy and Kagome, I haven’t seen many other competitor tonkatsu sauces in the US, so use what you can get!
More about tonkatsu sauce and ways to add flavor
In the tonkatsu restaurants in Japan, you might also have the option for sweet and ‘spicy’ sauces.
If there’s an option, I usually like to alternate between sweet and spicy tonkatsu sauces.
Just to keep things interesting.
Some people like to mix them and also mix in some sesame seeds.
But I keep em separate.
That’s just me.
And spicy tonkatsu sauce isn’t really that spicy.
It’s just a little more stronger in flavor in my experience.
Last, you may also serve your chicken katsu or tonkatsu with a lemon wedge, a little Japanese mustard (からしーkarashi) , ground sesame seeds, +/- pickled vegetables.
Are you hungry yet?
Check out the video below and see how I made a complete chicken katsu dinner!
Tips for making chicken katsu
- Marinate your chicken in sake for 15-20 minutes, to help improve flavor and texture. It’ll also eliminate and unpleasant odors if any. Just use enough to coat it lightly ( I used about 1/4 cup for 1.5 lbs of chicken breast in the video)
- There are two types of panko, which you may or may not have access to. Namapanko 生パン粉 and panko. Namapanko has a little more moisture than dried panko and will result in a crispier texture when fried. One way to make regular panko just as crispy is to give it a little spray before frying (like I do in my video).
- Another way you can make your chicken katsu extra crispy is to dredge it twice. After flouring, dipping in egg, and then panko, repeat again so there are two layers of flour, egg, and panko.
- For the cabbage, you can use green or red, but try to slice as thinly as possible. The thinner the better! Why? Because who likes chewing on thick cabbage? Maybe rabbits. But not me! It’s much more palatable in my opinion to get super crunchy thin strips of cabbage!
- I usually make a double batch of chicken so I have leftovers to use for something like katsudon (chicken katsu rice bowl). Cook smarter and save yourself time by cooking for leftovers!
- Though it’s recommended not to use olive oil for frying foods (due to it’s low smoke point), I haven’t had issues pan frying. And I prefer it because it’s healthier than regular vegetable oil.
Oh and here’s another video you can watch – another take on the chicken katsu, this time as a donburi (rice bowl)
Have you made chicken katsu before? Got any other tips for cooking chicken katsu?
let me know in the comments!
Print
Chicken katsu (fried chicken cutlet)

- Prep Time: 15 minutes
- Total Time: 15 minutes
- Yield: 0 people 1x
- Category: Main Dish
- Cuisine: Japanese
Ingredients
- 1/4 cup sake
- 1 1/2 lbs chicken breasts (pounded to about 1/2in. thickness)
- 2 eggs scrambled (for dredging)
- 1/2 cup flour (+ more as needed for dredging)
- 1 1/2 cups panko (+ more as needed for dredging)
- 1/4 cup olive oil (+ more as needed for frying)
- 1/2 head cabbage (thinly sliced)
- rice
- tonkatsu sauce, lemon wedge, Japanese mustard , ground sesame seeds
- water (in spray bottle (optional))
Instructions
- Using a large plastic freezer bag, pound your chicken until about 1/2 in. thick. (Optional: cut into individual portions after pounding)
- Add 1/4 cup sake, ensure chicken is lightly coated and allow to sit at least 15 minutes while you prepare the other things.
- Cut cabbage as thinly as possible and set aside
- Set up your dredging plates – one dedicated to flour, one bowl or dish for the egg, and one dediated to panko,
- Note – I place the flour furthest from the stove since that’s the first step.
- Once chicken has marinated in sake, remove and lightly pat with a paper towel. Preheat a large cast iron skillet and add oil.
- Coat each piece with flour, followed by egg, then panko. Ensure all sides and areas are covered with all 3.
- Spray the top and bottom with a spray or two of water and fry 3-4 minutes on each side (until light gold brown). Repeat for all the remaining pieces
- Serve with cabbage, rice, miso soup, tonkatsu sauce, lemon wedge, Japanese mustard , ground sesame seeds


very nice food chicken katsu
thanks!
Love both Tonkatsu and Chicken katsu. But I need a nice dollop of karashi to mix into my tonkatsu sauce!
ah karashi!! you must be strong to be able to withstand a dollop! i can barely handle a small drop, always makes me cry like accidentally putting too much wasabi! have you tried double frying or the spray methods before?
Simple but delicious. What kind of rice do you serve it with?
usually just white rice, sometimes brown rice if i want to be more healthy or gomoku (which has 5 ingredients like different grains). how about you?
Usually leftover sushi rice though I’ve been known to use basmati too.