
Want to know how to Use Cuisinart Waffle Maker and indulge in the delights of homemade waffles? Look no further than the Cuisinart waffle maker!
In this article, we will guide you through the process of using this fantastic appliance.

From unboxing and assembly to cleaning and maintenance, we’ve got you covered. Get ready to impress your family and friends with perfectly cooked waffles every time.
Let’s dive in and discover how to make the most out of your Cuisinart waffle maker!
Key Takeaways
- Familiarize yourself with the components of the Cuisinart waffle maker before use.
- Preheat the waffle maker until the indicator light turns on, ensuring optimal cooking temperature.
- Use non-stick spray or butter to lightly coat the cooking plates before pouring the batter.
- Clean the waffle maker by removing excess batter or crumbs, wiping the cooking plates with a damp cloth, and using mild dishwashing detergent for stubborn stains.

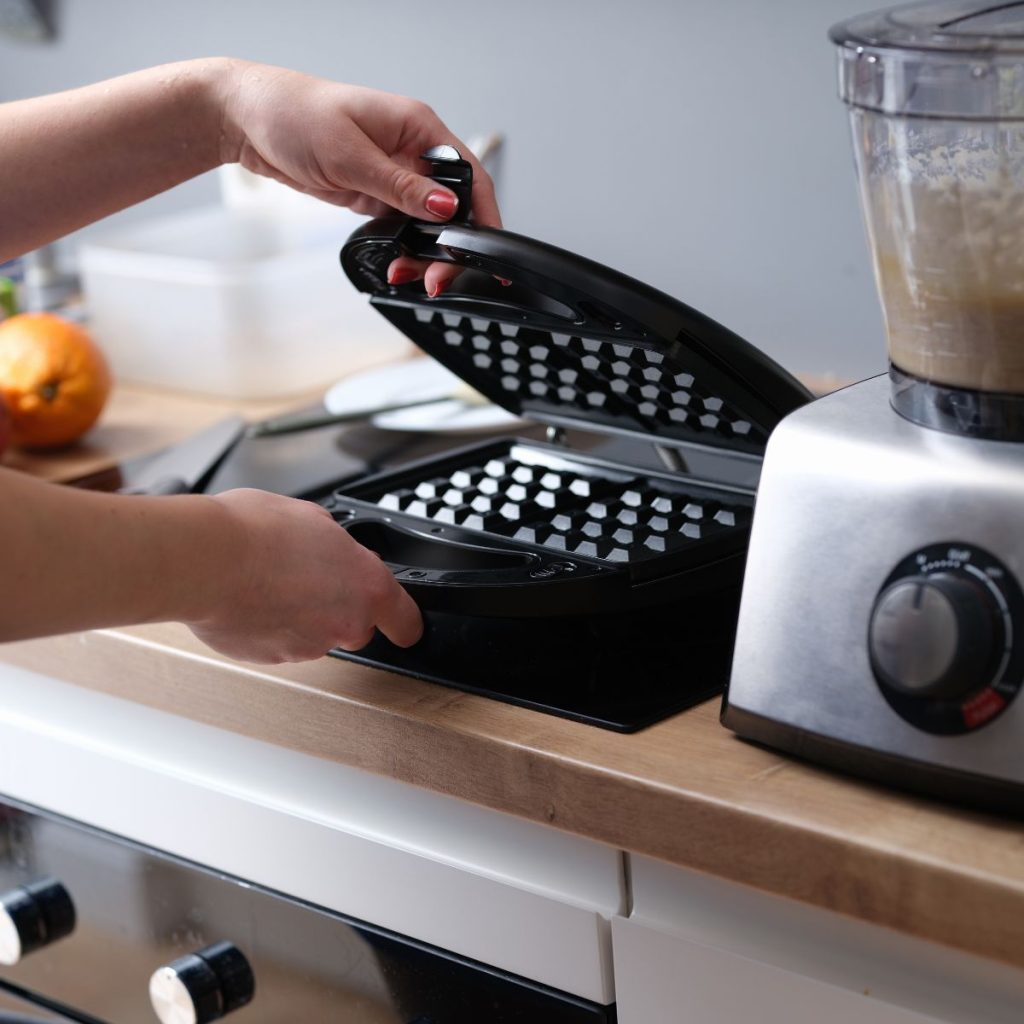
Unboxing and Assembly
To begin the process of unboxing and assembling your Cuisinart Waffle Maker, start by carefully removing the appliance from its packaging.
Ensure that all the packaging materials, including plastic wrap, tape, and foam inserts, are completely removed.
Place the waffle maker on a clean, stable surface, such as a countertop. Take a moment to familiarize yourself with the different components of the waffle maker, including the cooking plates, handle, and control panel.
 4.7$59.95Buy NowPros:
- Large Capacity since it can make four waffles at once
- It features a stainless steel and black plastic exterior, which enhances its durability and longevity
- Nonstick Plate
- Locking Lid
- Even Cooking
Cons:- Bulky for those with limited kitchen storage space
- It tends to be pricier compared to smaller waffle makers
- Due to its durable construction, it can be relatively heavy
- No Temperature Control
- It may take a bit longer to reach the desired cooking temperature due to its larger size
12/14/2023 12:26 pm GMT-
4.5$29.95 ($29.95 / Count)Buy NowPros:
- Customizable Browning Control
- Indicator Lights
- Weighted Lid
- Nonstick Plates
- Compact and Stylish Design
Cons:- Limited Capacity
- No Advanced Features
- No Locking Mechanism
- No Overflow Protection
- Basic Design
-
4.6$59.95Buy NowPros:
- Compact Design
- Quick Cooking
- The appliance is equipped with indicator lights that signal when the waffle maker is preheated and when your waffles are ready.
- With Non-Stick Plates
- While designed for waffles, this mini appliance can also be used to make other small treats like hash browns, paninis, or even biscuit pizzas.
- Easy to Use
- Affordable
Cons:- Small Capacity
- Single Cooking Surface
- No Adjustable Temperature
- No Timer
- The exterior is made of plastic, which may not be as durable as metal, and could be susceptible to scratches or damage over time.
- No Flipping Mechanism
- Limited Color Options
12/30/2023 11:19 am GMT


Before plugging in the appliance, make sure that the temperature control dial is set to the ‘Off’ position.
Locate the power cord and plug it into a grounded electrical outlet. Once the waffle maker is plugged in, the red power indicator light will illuminate, indicating that the appliance is receiving power.
How to Use Cuisinart Waffle Maker
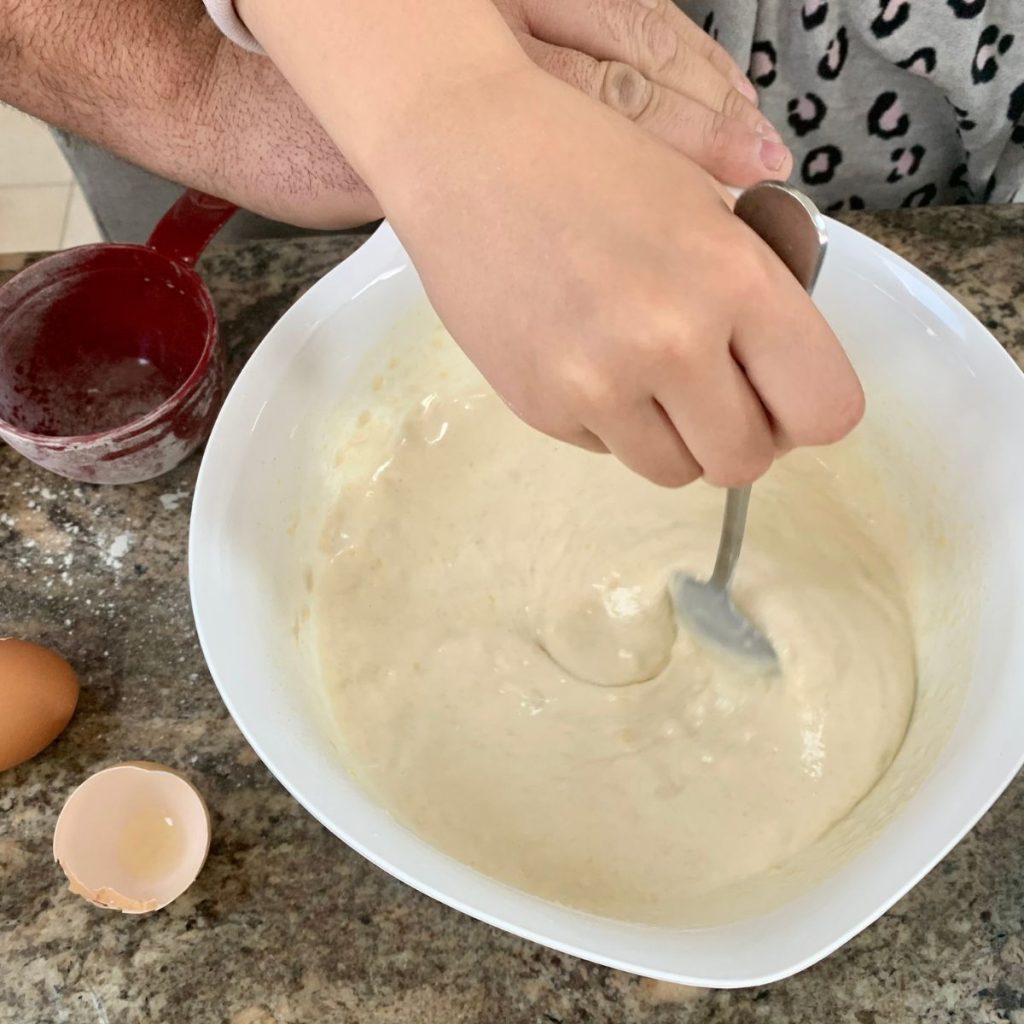
Preparing the Batter
To prepare the batter for your Cuisinart Waffle Maker, gather your ingredients and a mixing bowl.
First, you’ll need:
- 2 cups of all-purpose flour
- 2 tablespoons of sugar
- 1 tablespoon of baking powder
- ½ teaspoon of salt
In a separate bowl, whisk together 2 large eggs until they’re well beaten.
Then, add:
- 1 ¾ cups of milk
- ½ cup of melted butter
to the eggs and whisk until combined.
Next, pour the wet ingredients into the dry ingredients and stir until just combined. Be careful not to overmix, as this can result in tough waffles. The batter should be slightly lumpy.
Preheat your Cuisinart Waffle Maker according to the manufacturer’s instructions.
Pour the desired amount of batter onto the preheated plates.
Close the lid and cook until the waffles are golden brown and crispy.
Serve immediately with your favorite toppings and enjoy your delicious homemade waffles.
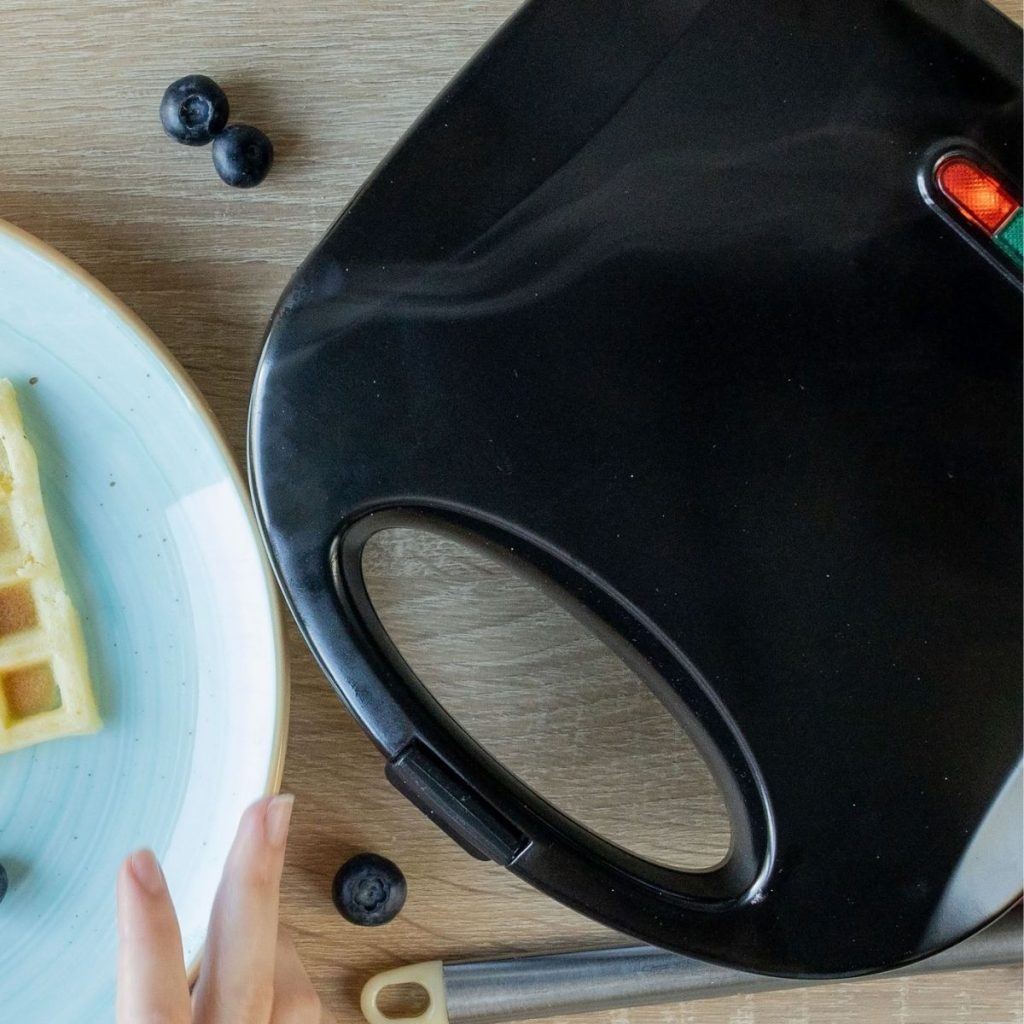
Preheating the Waffle Maker
To preheat your Cuisinart Waffle Maker, plug it into an electrical outlet and wait for the indicator light to turn on.
This step is crucial in ensuring that your waffle maker reaches the optimal temperature for cooking. The indicator light serves as a visual cue, indicating when the waffle maker is ready to use.
It typically takes a few minutes for the light to turn on, so be patient. While waiting, you can take this time to prepare your waffle batter or gather any toppings or fillings you plan to use.
Once the indicator light illuminates, it’s a signal that the waffle maker is heated and ready for action. Now you can proceed to pour the batter onto the preheated waffle plates and begin the cooking process.
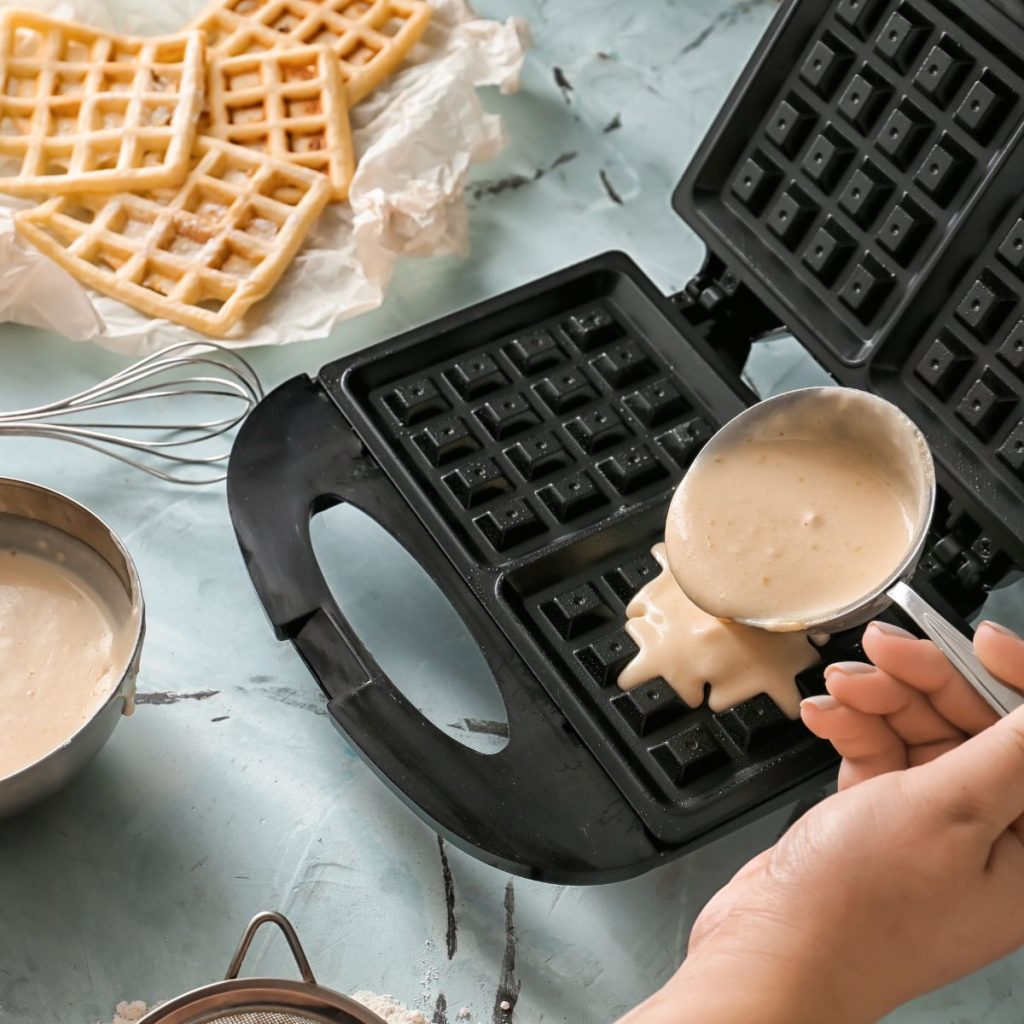
Pouring and Cooking the Waffles
Once the indicator light illuminates, you can now use your preheated Cuisinart Waffle Maker to pour and cook your delicious waffles. Follow these steps to ensure perfect waffles every time:
- Open the waffle maker and lightly coat the cooking plates with non-stick cooking spray or melted butter. This will prevent the waffles from sticking.
- Use a ladle or measuring cup to pour the waffle batter onto the center of the bottom cooking plate. Be careful not to overfill, as the batter will spread and could overflow.
- Close the lid gently and let the waffle cook for the recommended time. The indicator light will turn off when the waffle is done.
- Carefully open the lid and use a fork or spatula to remove the cooked waffle. Repeat the process for the remaining batter.
Remember to always follow the specific instructions provided with your Cuisinart Waffle Maker for best results.
Enjoy your freshly cooked waffles!


Konnichiwa! (Hello!) I'm Pat Tokuyama, a Japanese tofu cookbook author, who travels for music, food, and adventure. If you like Japanese tea, checkout some of the newestorganic japanese tea, matcha bowls and noren and more!
** Curious about the Plant Based Japanese Cooking Club? ** Learn more here!
Cleaning and Maintenance
After you have finished cooking your waffles, it’s important to properly clean and maintain your Cuisinart Waffle Maker.
To begin, unplug the appliance and allow it to cool down completely.
Carefully remove any excess batter or crumbs using a soft cloth or brush.
Next, wipe the cooking plates with a damp cloth to remove any remaining residue.
For stubborn stains, you can use a mild dishwashing detergent and warm water.
Make sure to avoid abrasive cleaners or scouring pads as they can damage the non-stick surface.
After cleaning, dry the plates thoroughly and reassemble the waffle maker.
To maintain your appliance, periodically check for any loose screws or damaged parts and replace them if necessary.

Konnichiwa! (Hello!) I'm Pat Tokuyama, a Japanese tofu cookbook author, who travels for music, food, and adventure. If you like Japanese tea, checkout some of the newestorganic japanese tea, matcha bowls and noren and more!
** Curious about the Plant Based Japanese Cooking Club? ** Learn more here!