Why Your Homemade Japanese Rice Turns Out Gummy—and How to Fix It
If your Japanese rice comes out mushy, gummy, or unevenly cooked, the rice itself probably is not the problem. A better rinse, a measured soak, controlled heat, and one often-skipped resting step can give you the glossy, tender, pleasantly sticky texture you wanted.
Some links below are affiliate links—if you buy through them, we may earn a small commission at no extra cost to you.
The Short Answer
Japanese rice usually turns gummy because excess surface starch combines with too much water or rough handling. Rinse the grains gently until the water is nearly clear, drain well, soak before cooking, measure the cooking water carefully, and let the covered rice rest off the heat before fluffing it.
Start with approximately 150 grams of dry Japanese short-grain rice and 200 grams of cooking water. Treat that as a baseline, then make small adjustments for your rice, pot, and preferred firmness.
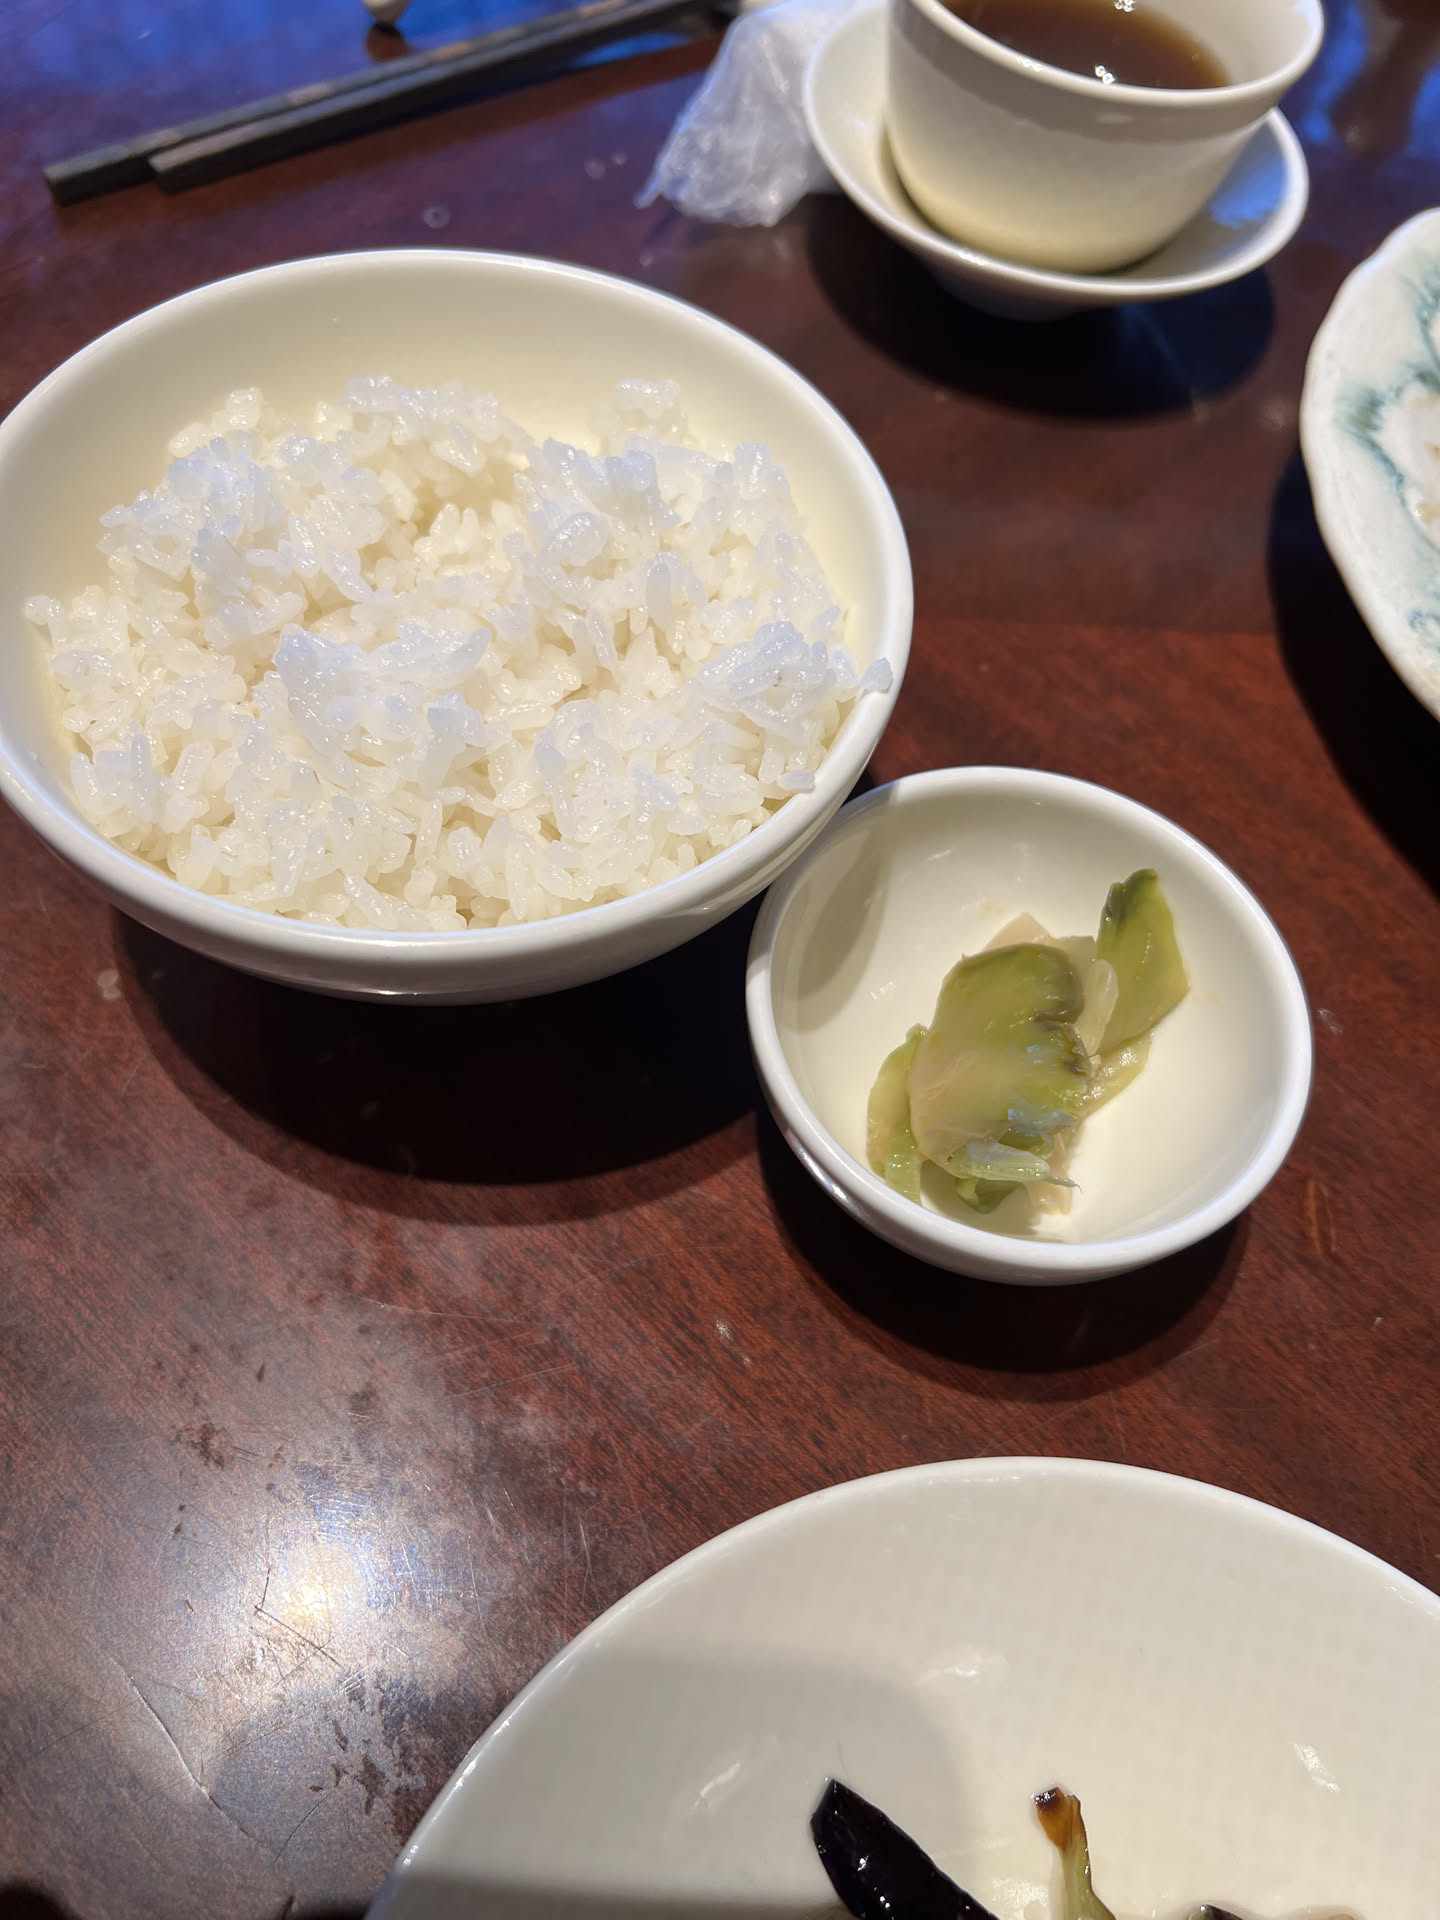
Correctly cooked Japanese rice is not loose like basmati. The grains should cling together enough to pick up with chopsticks, yet remain distinct when you look closely. “Sticky” is expected; a wet, paste-like surface is not.
Why Japanese Rice Becomes Gummy or Mushy
Several small technique problems can produce the same disappointing bowl. Before changing the rice brand or buying another appliance, identify where your process is going wrong.
The grains were not rinsed thoroughly
Japanese short-grain rice carries loose starch from milling and from the grains rubbing together in the bag. Once wet, that powder thickens the cooking water. If too much remains, it can create a gluey coating around otherwise properly cooked grains.
Add cold water, stir the rice gently with your fingers, and pour off the cloudy water promptly. Repeat until the water is nearly clear. It may retain a faint haze, so there is no need to chase perfectly transparent water through endless rinses.
Avoid squeezing the wet rice aggressively between your palms. Excess pressure can crack the grains, releasing more starch and encouraging uneven cooking.
The rice was left sitting in cloudy rinse water
The first rinse becomes cloudy almost immediately. If the rice sits in that water while you search for a strainer or prepare another ingredient, it can begin absorbing some of the loose starch you intended to remove.
Have everything ready before adding water. Swirl briefly, drain, and continue with fresh water.
Too much cooking water was added
A small measuring error matters because the grains absorb most of the water in the pot. Too much leaves them swollen and soft; far too much can collapse their texture completely.
One common source of confusion is the Japanese rice-cooker cup. It holds about 180 milliliters, whereas a standard US cup holds about 240 milliliters. Filling a rice cooker with a US cup and then using a water line designed for the smaller Japanese cup will throw off the ratio.
Choose one measuring system and use it consistently. A kitchen scale is especially helpful because it removes differences caused by scooping and leveling.
The rice skipped its soaking time
Soaking is not the same as cooking with extra water. It gives moisture time to enter the center of each grain before heat begins firming the exterior.
Without that head start, the outside can become very soft while the center remains firm or chalky. Adding more water to correct that hard center often makes the surface mushier without truly solving the unevenness.
For most Japanese short-grain rice, soak it for about 20 to 30 minutes before cooking. In a cold kitchen or with older, drier rice, a longer soak may produce a more even result. Follow the package directions when they differ.
The pot heated unevenly
A thin pot can develop an intense hot area directly above the burner while the edges remain cooler. Rice over the hot spot may catch on the bottom as rice elsewhere stays wet.
Repeatedly lifting the lid or stirring to compensate makes matters worse. Every stir abrades the softened grains and spreads starch through the pot.
A heavy pot, especially a clay donabe made for rice, stores and distributes heat more gradually. A well-designed rice cooker manages the heating stages automatically. Neither vessel can correct an inaccurate water ratio, but both make consistent results easier once the basic technique is right.
The rice was served immediately
The cooking is not finished the moment the burner switches off.
During the covered rest, remaining moisture redistributes through the pot. The surface of the grains settles, and the difference between wetter and drier areas becomes less pronounced. Opening the lid immediately releases steam before it can finish that work.
This is the overlooked step behind many bowls that are wet on top and firm near the bottom.
How to Fix Gummy Japanese Rice
Use this method as a controlled starting point. Once it works reliably, adjust only one variable at a time.
1. Use Japanese short-grain rice
Choose Japanese short-grain or a Japanese-style short-grain variety. Medium-grain rice can also produce a cohesive bowl, but it may require a slightly different amount of water.
Do not judge Japanese rice by the standard of long-grain rice. The goal is tender grains that hold together naturally—not grains that scatter individually across the bowl.
2. Measure before rinsing
For a manageable batch, begin with:
- 150 grams dry rice
- 200 grams water for cooking
This is a starting ratio, not an unbreakable law. Different harvests, storage conditions, pots, and heat sources can change how much water works best.
If the finished grains are uniformly too soft, reduce the cooking water slightly next time. If they are uniformly too firm after a proper soak and rest, add slightly more. Make small changes—about a teaspoon or two per batch—rather than swinging between ratios.
3. Rinse gently and drain completely
Place the rice in a bowl and add plenty of cold water. Swirl it quickly with your fingers, then pour off the first cloudy water.
Add fresh water and gently rake your fingers through the grains. Drain and repeat until the water is only lightly cloudy. This usually takes several changes of water, but appearance matters more than an exact count.
Transfer the rinsed rice to a fine-mesh strainer and let excess water drain away. If an unpredictable amount of rinse water remains in the bowl, it becomes part of the cooking ratio without being measured.
4. Soak the rice
Put the drained rice in the cooking vessel and add the measured water. Let it soak for approximately 20 to 30 minutes.
If you must streamline dinner preparation, measure and rinse the rice first, then use the soaking period to prepare the rest of the meal. The process does not demand active work; it only needs a little planning.
Some rice cookers include soaking within their programmed cycle. Check the manual before adding a separate soak, because doubling the intended soaking stage can change the final softness.
5. Cook without stirring
For a covered stovetop pot, bring the rice toward a boil over moderate heat. Once it is boiling, reduce the heat to low and let it cook gently without removing the lid.
The exact burner setting and cooking time depend on the pot. A small donabe behaves differently from stainless steel, and gas responds differently from an electric element. Use the vessel maker’s directions as your primary guide.
Listen near the end. A quiet crackling sound can indicate that free water has been absorbed, but a harsh scorched smell means the heat is too high. Resist the urge to open and stir midway.
6. Rest it off the heat
Turn off the heat and leave the lid closed for about 10 minutes. Move the pot off an electric burner that stays hot, but keep it covered.
This rest is essential. It finishes the texture without adding more water or direct heat.
If you are short on time, shorten another part of meal preparation—not this one. A rice cooker can be worthwhile precisely because it handles the soak, cook, and rest while you work on other dishes.
7. Fluff by cutting and folding
Open the lid and use a rice paddle to cut vertically through the rice. Lift and fold portions from the bottom toward the top, turning the pot as you go.
Do not mash or stir in circles. The purpose is to release excess steam and distribute the rice gently while keeping the grains intact.
Serve it promptly, or use the rice cooker’s holding mode according to its instructions. Leaving cooked rice uncovered allows the top to dry, while keeping it trapped under uncontrolled steam can make the surface wet.
Troubleshoot the Texture You Have
| What you notice | Likely cause | What to change next time |
|---|---|---|
| Wet, paste-like surface throughout | Excess water or insufficient rinsing | Rinse more thoroughly and reduce water slightly |
| Soft outside with a firm center | Rice was not soaked long enough | Keep the same ratio and extend the soak |
| Wet top but firm bottom | Uneven heat or skipped resting time | Use gentler heat and complete the covered rest |
| Broken, gluey grains | Rough washing or stirring during cooking | Handle gently and leave the pot undisturbed |
| Scorched bottom with undercooked rice above | Heat too high or pot too thin | Lower the heat or use a heavier vessel |
| Evenly cooked but firmer than preferred | Slightly too little water | Add a small measured amount next time |
Change one thing per batch. If you alter the rice, water, soak, pot, and burner setting simultaneously, you will not know which adjustment helped.
What Actually Matters When You Buy a Rice-Cooking Vessel
Technique comes first, but the vessel determines how easy that technique is to repeat. The best choice depends on whether you value hands-on control or push-button consistency.
Stable, even heating
A heavy vessel moderates the burner’s hot spots. Clay donabe are particularly good at holding heat and releasing it gradually, which supports even cooking and a gentle covered finish.
For a stovetop pot, look for a substantial base and a lid that sits securely. A very thin saucepan may work, but it leaves less room for burner-setting errors.
A lid that manages steam well
Rice needs a closed environment during cooking and resting. A loose, lightweight lid can rattle, release steam unpredictably, or tempt you to keep checking the pot.
Many rice donabe use a heavy lid or a double-lid design. The specific construction varies, but the useful feature is stable steam retention—not decorative complexity.
Capacity that matches your normal batch
An oversized pot is not automatically better. A very shallow layer of rice can heat differently from the batch the vessel was designed to cook.
Choose a donabe or rice cooker around the amount you prepare most often. Also check whether the stated capacity refers to uncooked rice, cooked rice, or Japanese rice-cooker cups.
Useful automation rather than extra buttons
A good rice cooker controls soaking, heating, and resting consistently. The most valuable features are the ones that support your actual routine: an appropriate short-grain setting, clear inner-pot markings, a reliable timer, and a sensible holding function.
A long menu of specialized programs is less important if you cook the same Japanese rice every week.
Cleaning and everyday handling
Donabe requires a little attention. Clay vessels must be handled carefully, dried thoroughly, and used according to the maker’s guidance. Some also need an initial seasoning procedure.
A removable rice-cooker inner pot is more convenient for many busy kitchens, though its surface still deserves gentle utensils and cleaning. Consider which vessel you will happily use on an ordinary Tuesday, not only which one looks appealing on a shelf.
Donabe or Rice Cooker: Which Is Better?
Choose a donabe if you enjoy participating in the cooking process, can monitor the burner, and want a traditional serving vessel that comes directly to the table. Its heavy clay construction can produce beautifully even rice once you learn its timing.
Choose a rice cooker if consistency and scheduling matter more. It is especially useful when soaking and resting feel difficult to fit into dinner preparation because the machine can manage those stages as part of its cycle.
Neither is a shortcut around measuring and rinsing. Think of the vessel as the final layer of control after the fundamentals are in place.
For a closer look at traditional clay options, see Top 7 Iga Donabe for Rice Under $400.
If you prefer automatic cooking, compare Top 7 Zojirushi Rice Cookers for Authentic Japanese Rice.
FAQ
Why is Japanese rice sticky even when it is cooked correctly?
Japanese short-grain rice is naturally cohesive. Properly cooked grains should cling together but still look distinct and feel tender rather than wet or paste-like. Some stickiness is the goal; gumminess is usually a technique issue.
Should rinse water become completely transparent?
Aim for nearly clear water rather than perfect transparency. A faint haze is normal. The important part is removing the heavy initial cloudiness without grinding or breaking the grains.
Can I skip soaking Japanese rice?
You can cook it without soaking, but the texture is more likely to be uneven, with a soft exterior and firm center. A short soak helps water reach the middle of the grain before cooking begins.
Why does my rice cooker produce mushy rice?
Check that you are using the cup supplied with the cooker and the matching water line. A standard US measuring cup is larger than a Japanese rice-cooker cup. Also confirm whether your cooker’s cycle already includes soaking before adding a separate soak.
Can gummy rice be fixed after it is cooked?
You cannot fully restore the grain structure, but you can keep it from becoming wetter. Fluff it gently to release steam, then serve it rather than leaving it compressed in the pot. For the next batch, reduce the water slightly and check your rinsing, draining, and resting steps.