How to Make Japanese Rice the Right Way (No Rice Cooker Needed)
Japanese short-grain rice is one of those things people assume requires a rice cooker to do properly. I understand why — rice cookers are genuinely excellent tools, and most Japanese households have one. But I spent months cooking rice on a gas stove before I could afford one, and I can tell you with confidence: the stovetop method, done correctly, produces rice just as good as what a rice cooker makes.
Why Japanese Rice Is Different
Japanese short-grain rice (japonica variety) has a different starch composition than long-grain rices like jasmine or basmati. It’s higher in amylopectin, the branching starch that creates the characteristic stickiness and glossy surface. This isn’t gumminess — properly cooked Japanese rice should be distinctly sticky but separate, with each grain maintaining its shape while clinging to its neighbors.
The washing, soaking, and cooking method all matter more with Japanese rice than with other varieties. You can’t treat it like basmati.
Choosing the Right Rice
For authentic results, use Japanese short-grain rice. Koshihikari is the premier variety — grown in Niigata’s Uonuma district, it’s widely considered the gold standard. Other good varieties include Hitomebore, Akitakomachi, and Tsuyahime. In North America and Australia, look for bags labeled “Japanese short-grain rice” or the California-grown “Calrose” variety (not identical but a good substitute).
Do not use medium-grain “sushi rice” sold in mixed varieties at grocery stores — these are often lower quality blends that produce mediocre results regardless of technique.
The Essential Steps
Step 1: Measure Correctly
Japanese rice is traditionally measured in cups (1 cup = 180ml in Japanese measure, slightly less than a US cup). A typical serving is 1 cup of dry rice per person for a substantial meal. Measure dry — don’t try to estimate.
Step 2: Wash the Rice Thoroughly
Washing is not optional. You’re removing excess surface starch that would make the cooked rice gummy, plus any dust or impurities from processing.
Place the rice in a bowl and cover with cold water. Gently agitate with your hand, then pour off the cloudy water quickly. Repeat 3–5 times until the water runs nearly clear. The first washings will be very milky — don’t worry, this is normal.
Do not scrub aggressively or soak during washing — you want to remove surface starch, not break the grains. After the final rinse, drain the rice in a fine mesh strainer for 15 minutes.
Step 3: Soak the Rice
Soak the washed, drained rice in fresh cold water for 30 minutes in summer and 60 minutes in winter. The rice absorbs water and plumps slightly. This ensures even cooking — without soaking, the exterior cooks before the interior has fully hydrated.
Step 4: Measure Cooking Water
The standard ratio is 1 cup rice to 1.1–1.2 cups water. For 2 cups of rice, use 2.2–2.4 cups water. New-season rice (shinmai) absorbs more water — use 1:1. Older rice needs slightly more — up to 1:1.3.
After soaking, drain the rice completely and add fresh water in the correct ratio. The soaking water is discarded.
Step 5: Cook
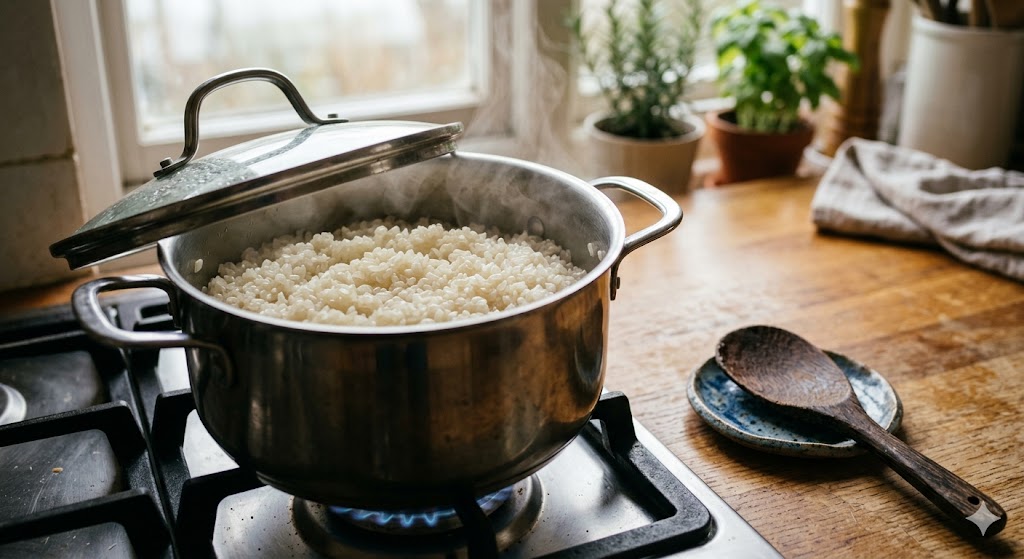
Place the rice and measured water in a heavy-bottomed pot with a tight-fitting lid. Bring to a boil over medium-high heat. This should take 5–7 minutes.
Once boiling, reduce immediately to the lowest possible heat. Cook for 12–15 minutes. Do not lift the lid. You should hear a gentle, minimal simmering — just barely active. If you hear vigorous bubbling or steam escaping from the lid, the heat is too high.
After 12–15 minutes, check: you should hear no liquid sounds from the pot. The rice is done when all water is absorbed. Turn heat to high for 10 seconds (this sets the crust at the bottom), then remove from heat.
Step 6: Steam (Mushirashii)
With the lid still on, let the rice rest off heat for 10–15 minutes. This steaming step is not optional — it allows the grains to finish cooking in their own steam and equalizes moisture throughout the pot. Skipping this results in wet spots and uneven texture.
Step 7: Fold and Serve
Use a rice paddle (shamoji) or large silicone spatula to gently fold the rice from the bottom up, separating any stuck grains and letting steam escape. Don’t stir — fold in broad motions. Serve immediately.
Common Problems and Fixes
- Too gummy: Not washed enough, or water ratio too high. Reduce to 1:1.1 next time.
- Too dry: Water ratio too low. Increase by 2 tablespoons next time.
- Burned bottom: Heat too high after reducing. Lower the heat more aggressively.
- Unevenly cooked: Skipped the soak, or didn’t rest after cooking. Both steps matter.
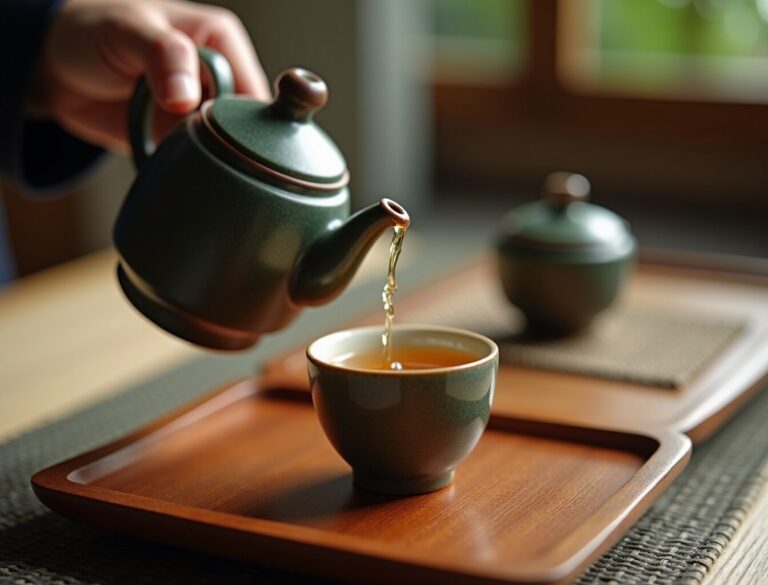
Ochazuke: Leftover Rice Transformed
One of the most elegant uses of leftover rice: ochazuke, or
Frequently Asked Questions
Do I really need to wash Japanese rice?
Yes. Washing removes the excess surface starch that causes gumminess and ensures the texture comes out properly. Don’t skip this step.
Can I use a regular US cup measure instead of a Japanese rice cup?
You can, but keep proportions consistent — use the same cup for both rice and water, whatever size cup you’re using. The ratio (approximately 1:1.1 to 1:1.2) stays the same.
How do I store leftover cooked rice?
Store in an airtight container in the refrigerator for up to 3 days, or freeze in portioned servings. To reheat, sprinkle a tablespoon of water over the rice and microwave covered, or steam in a pot with a small amount of water. Japanese rice reheats well when stored properly.
Is Japanese rice the same as sushi rice?
Japanese rice cooked plain is not sushi rice — sushi rice is Japanese rice that has been seasoned with a mixture of rice vinegar, sugar, and salt while still hot. The base rice is the same; the seasoning makes it sushi rice.
What is the best rice brand for Japanese cooking?
In Japan, Koshihikari from Niigata is widely considered the standard of excellence. Outside Japan, Tamaki Gold, Nishiki, and Koda Farms Kokuho Rose are reliable options. Calrose grown in California is a reasonable substitute at a lower price point.